Getting the Annealing Right for Lab Glass
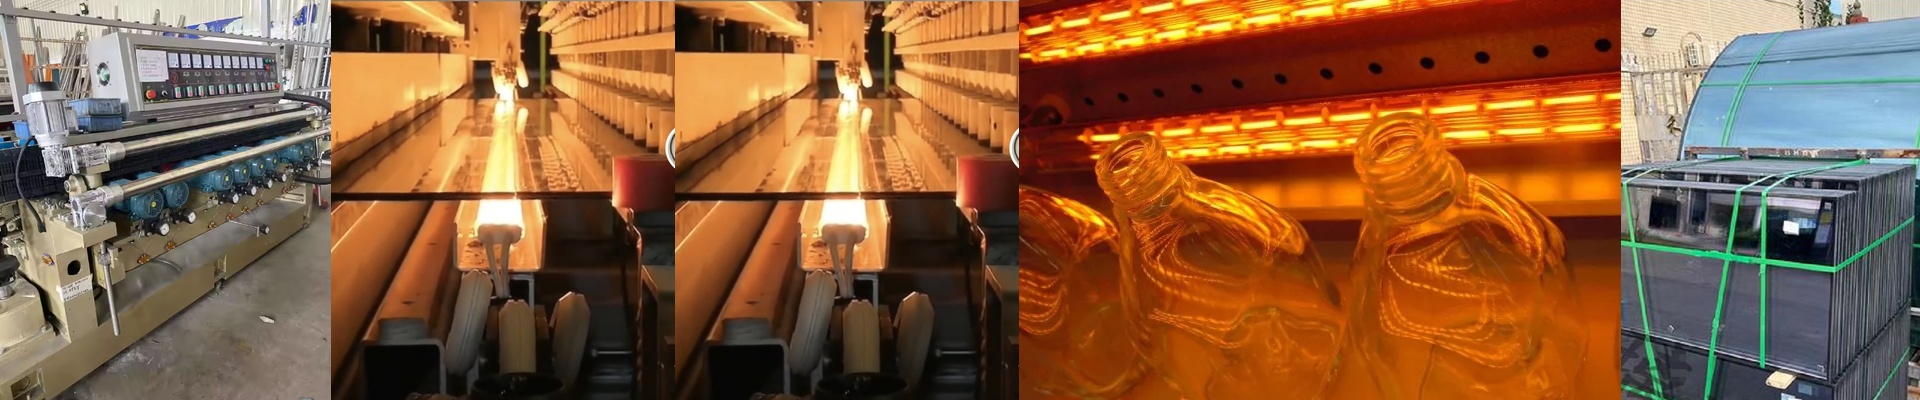
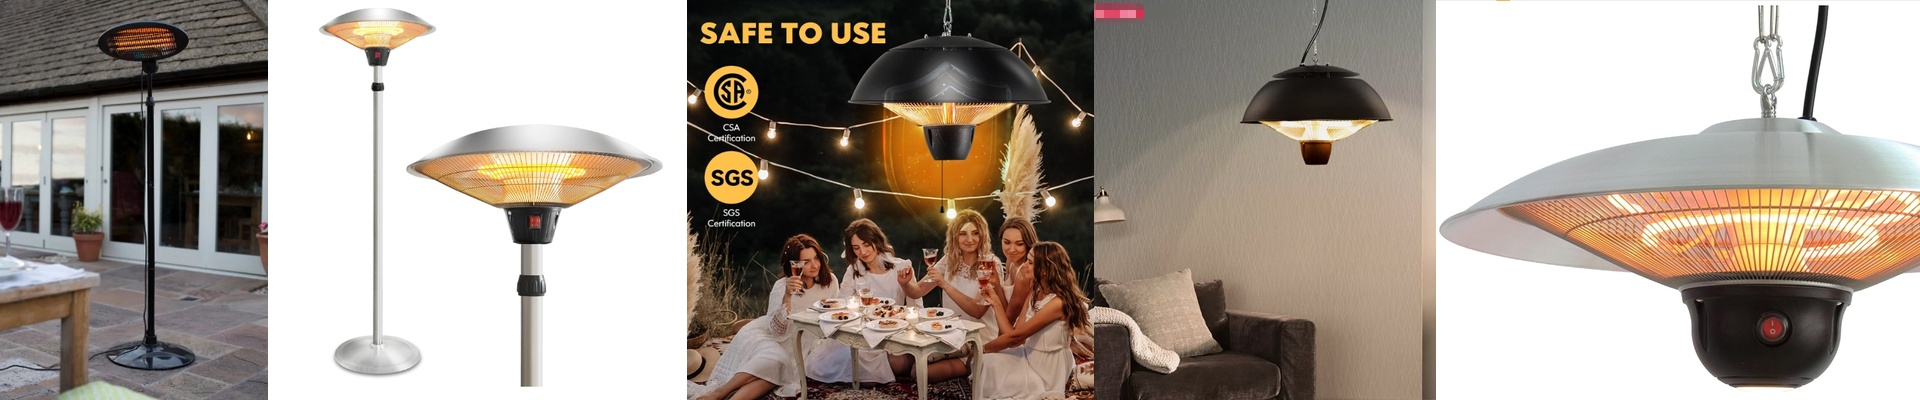
When you’re working with lab-grade glass, there is a very thin line between a perfect vessel and one that just… pops. Usually, it all comes down to the annealing curve. To keep things stable, we use infrared (IR) heating elements. They’re great because they react fast and let us keep the temperature exactly where it needs to be.
Why 0.1°C Actually Matters
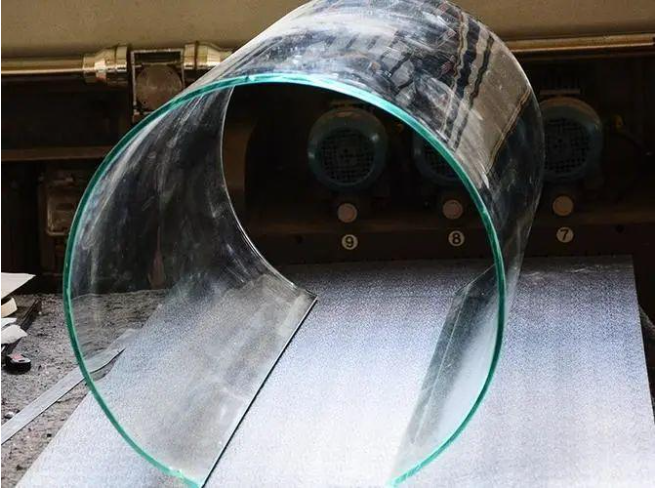
Glass has this specific “sweet spot” where internal stresses finally relax. If your heater swings by even a few degrees, you’re basically inviting new thermal gradients to move in. That’s why we obsess over 0.1°C precision. By pairing high-res PID controllers with short-wave IR elements, we can keep the heat flat across the whole piece of glass. It stops the outer “skin” from cooling too quickly compared to the core. If that doesn’t happen, you get stress fractures. And nobody wants that.
The Deal with IR Elements
We stick with quartz-halogen tech for this. The best part? You aren’t standing around for an hour waiting for the oven to warm up. It hits temperature fast. But there’s a catch. High heat density can be a bit of a beast. It gets the glass to the annealing point quickly, sure, but it puts a lot of pressure on your power supply. You also have to be careful with spacing. If the elements are too close, you get “hot spots” that can warp your glass.
Making it Work in the Shop
Here is the thing: you have to wire these elements into a closed-loop system with a really accurate pyrometer. If your sensor is lying to you, that 0.1°C precision is basically useless. I’ve seen plenty of setups where the ventilation around the lamp housing was an afterthought. The heat builds up, the electronics start to drift, and the controller begins overcompensating. It’s a mess. Make sure your cooling fans can actually handle the heat inside the enclosure. Keep the electronics cool, and your glass stays in that narrow window for a clean, stress-free finish.